Have you ever seen images that have transparent backgrounds in the past? It is a method that is widely-used in order to let whatever background the image is placed on show through it. It is particularly popular for creating logos, so that the logo can be placed anywhere and look natural.
If you want to remove the background image from a photo to create a transparency, or even to replace it with another image – you’ll need a bit of editing. That is where Movavi Photo Editor comes in, as you won’t find a photo background remover that is easier to use.
As soon as you launch Movavi Photo Editor you’ll see a button labelled ‘Browse for Images’ in the middle of the main working area. If you want you can click on it and select the photo that you intend to edit, or drag and drop the file into that area – as indicated.
After the photo is loaded, you should click on the ‘Change Background’ tab in the upper row of the interface. When you click on it, Movavi Photo Editor will open a sidebar that contains all the tools you need to remove your background and replace it with a new image. In particular you’ll need to use the green ‘Foreground Brush’ to paint over the elements you want to keep, and the red ‘Background Brush’ to paint over the parts of the background that you want to remove.
As you paint over those parts of your photo, a series of broken lines will appear to indicate the borders of your selection. If it seems to demarcate the elements relatively accurately, you can click ‘Next Step’ then use the ‘Foreground Mask’ to smooth any edges and the ‘Background Mask’ to mark any other areas you want to remove. If you want you can also use the ‘Refine Edge’ brush to select fine details more precisely.
By this point you should have isolated the foreground elements very well, and when you click ‘Next Step’, Movavi Photo Editor will remove the background. If you want to create a transparency you can save it then and there by clicking the ‘Save’ button – or you could click ‘Add Image’ to add a new background image.
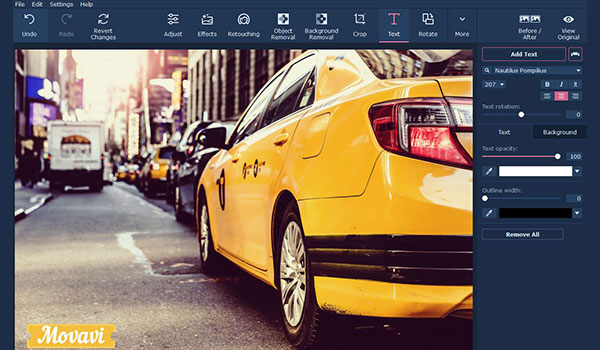
Keep in mind that aside from letting you remove or replace your background, you could also use Movavi Photo Editor to enhance the quality of your photos, apply artistic filters, insert customizable text elements, remove unwanted objects, touch up portraits, and much more. The list of ways in which it could help you to improve your photos is really fairly substantial, and with a bit of creativity you could come up with compelling images using them.

0 comments:
Post a Comment